Virtual Machines
Deploy and manage scalable virtual servers for any workload.
How to Create a VM
Launching a new VM takes just a few clicks.
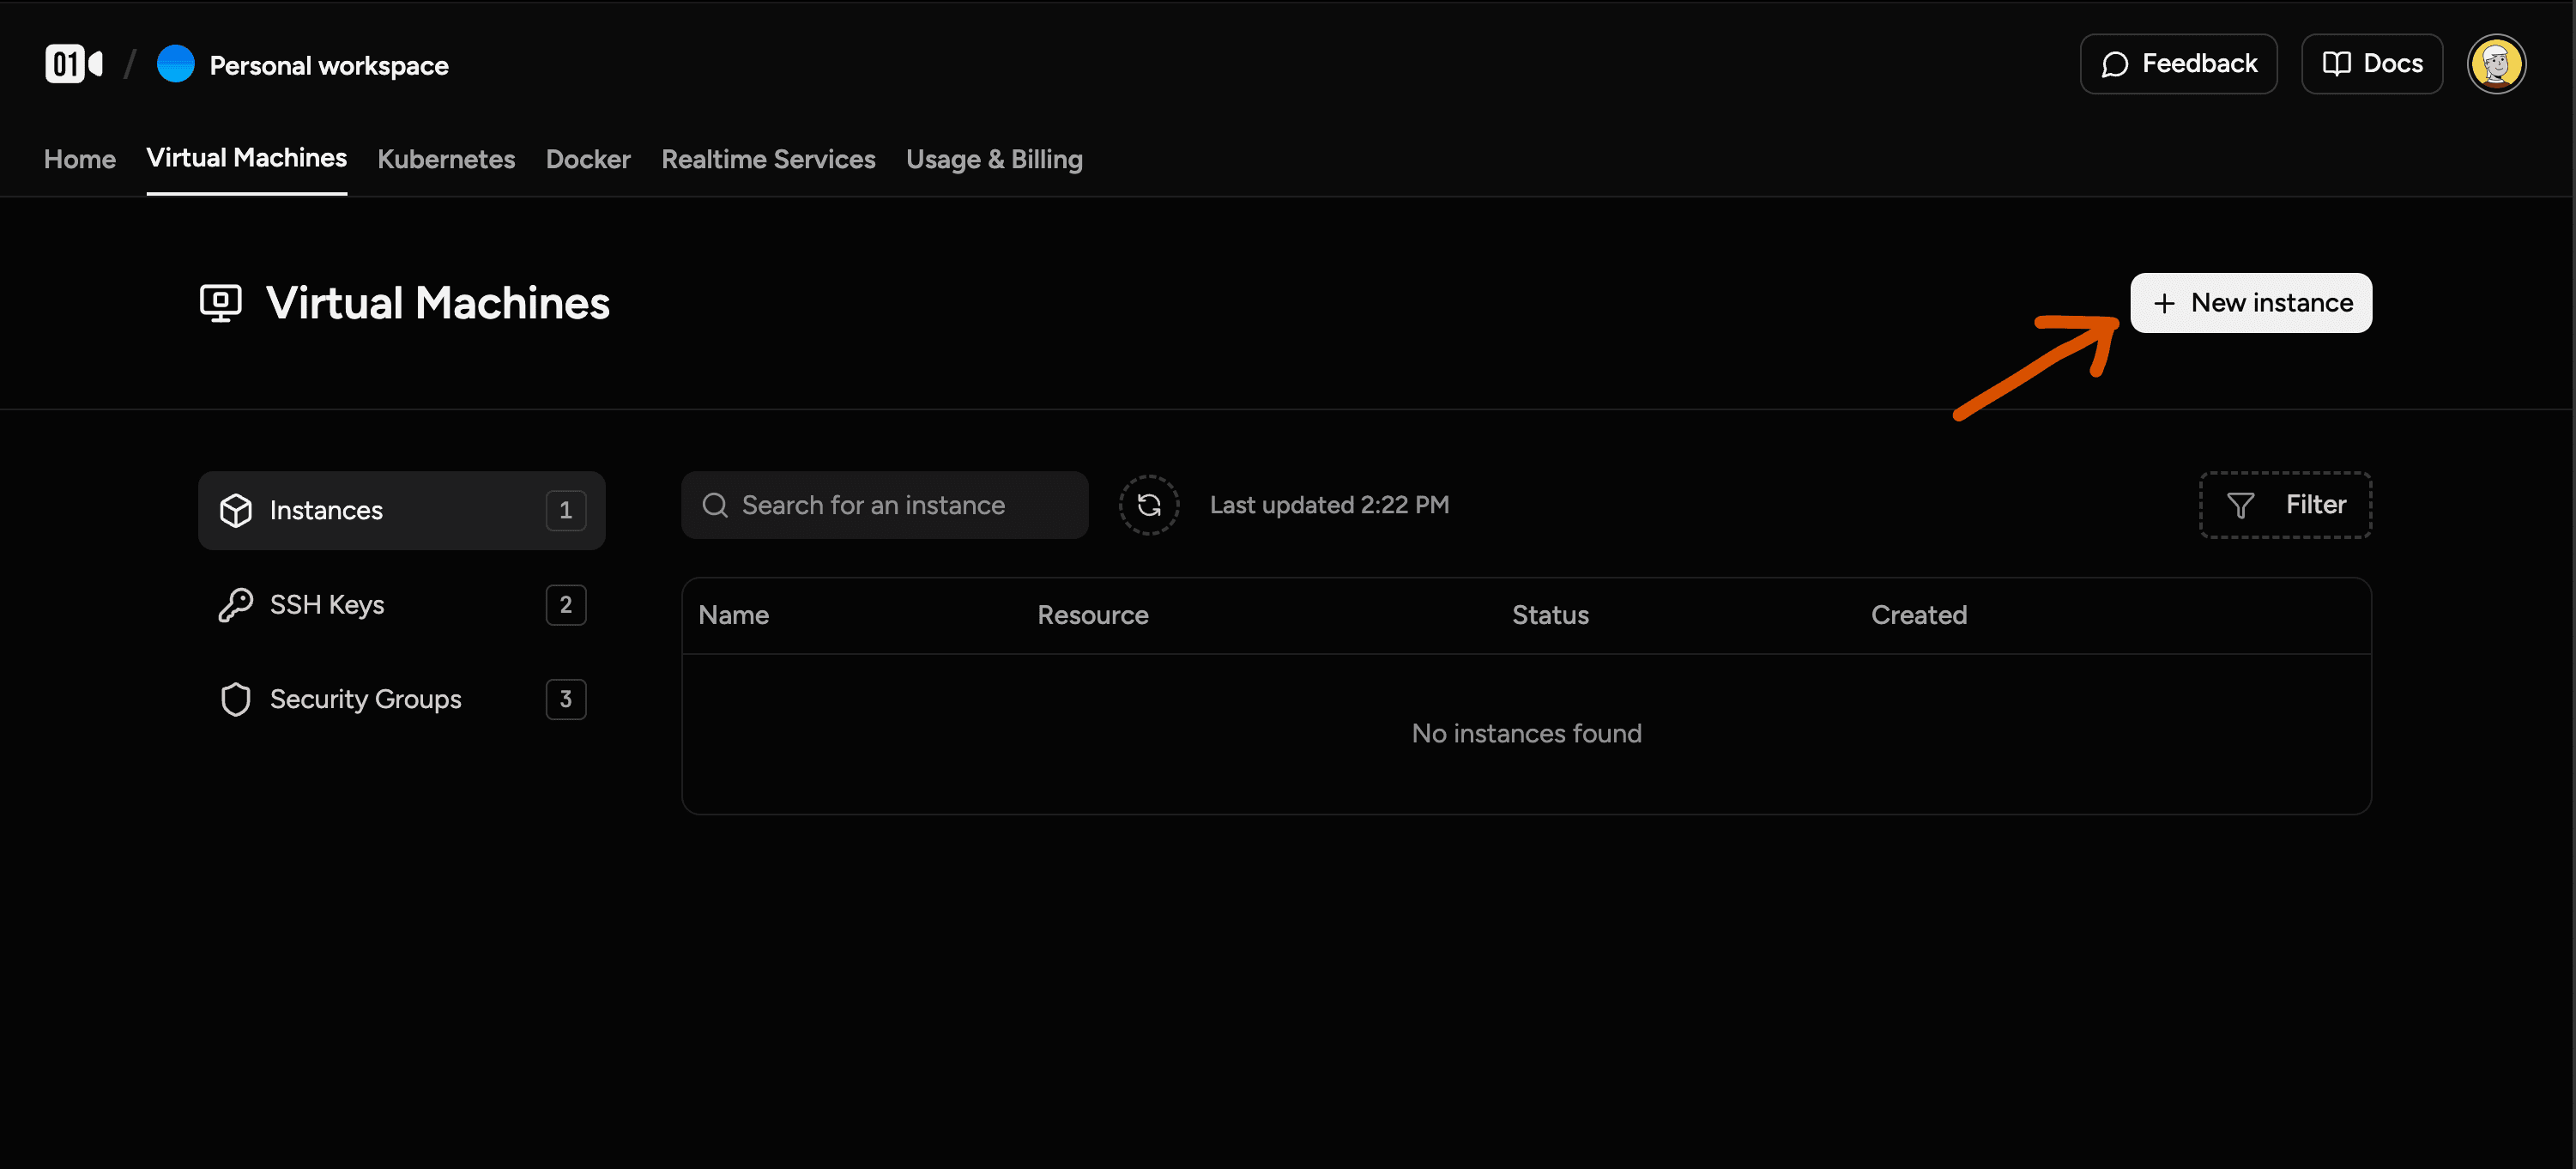
- Navigate to the Virtual Machines section from the main dashboard and click "+ New instance".
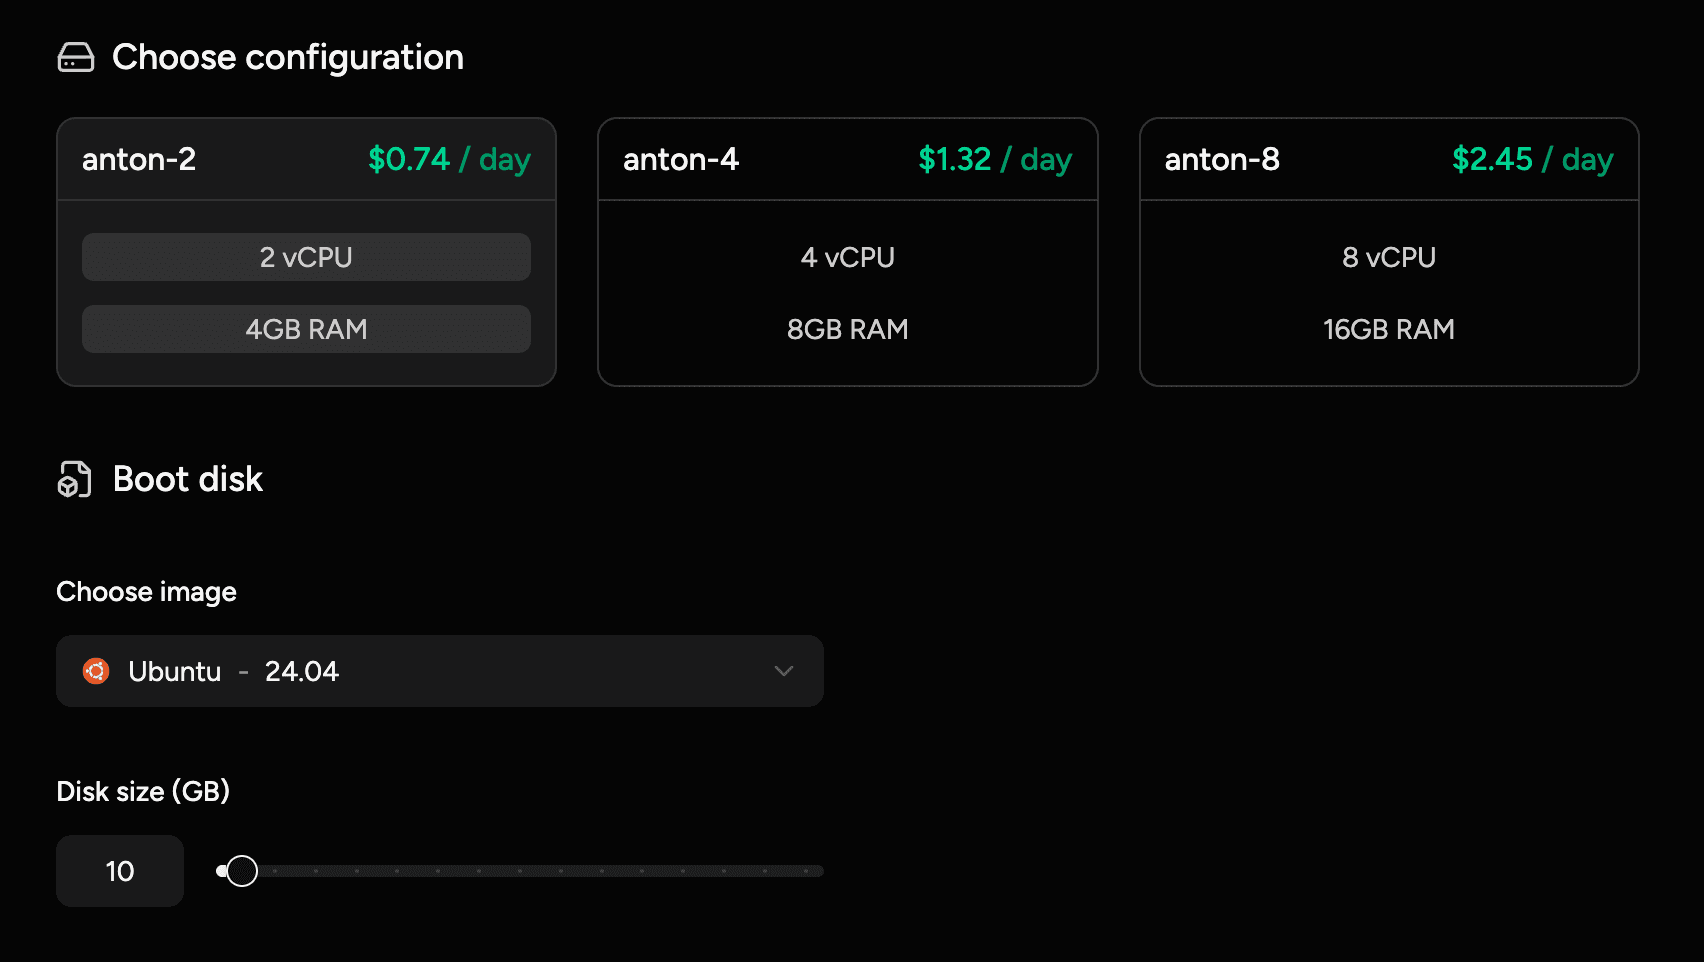
- Select a Region, Configuration, and Image for your new server.
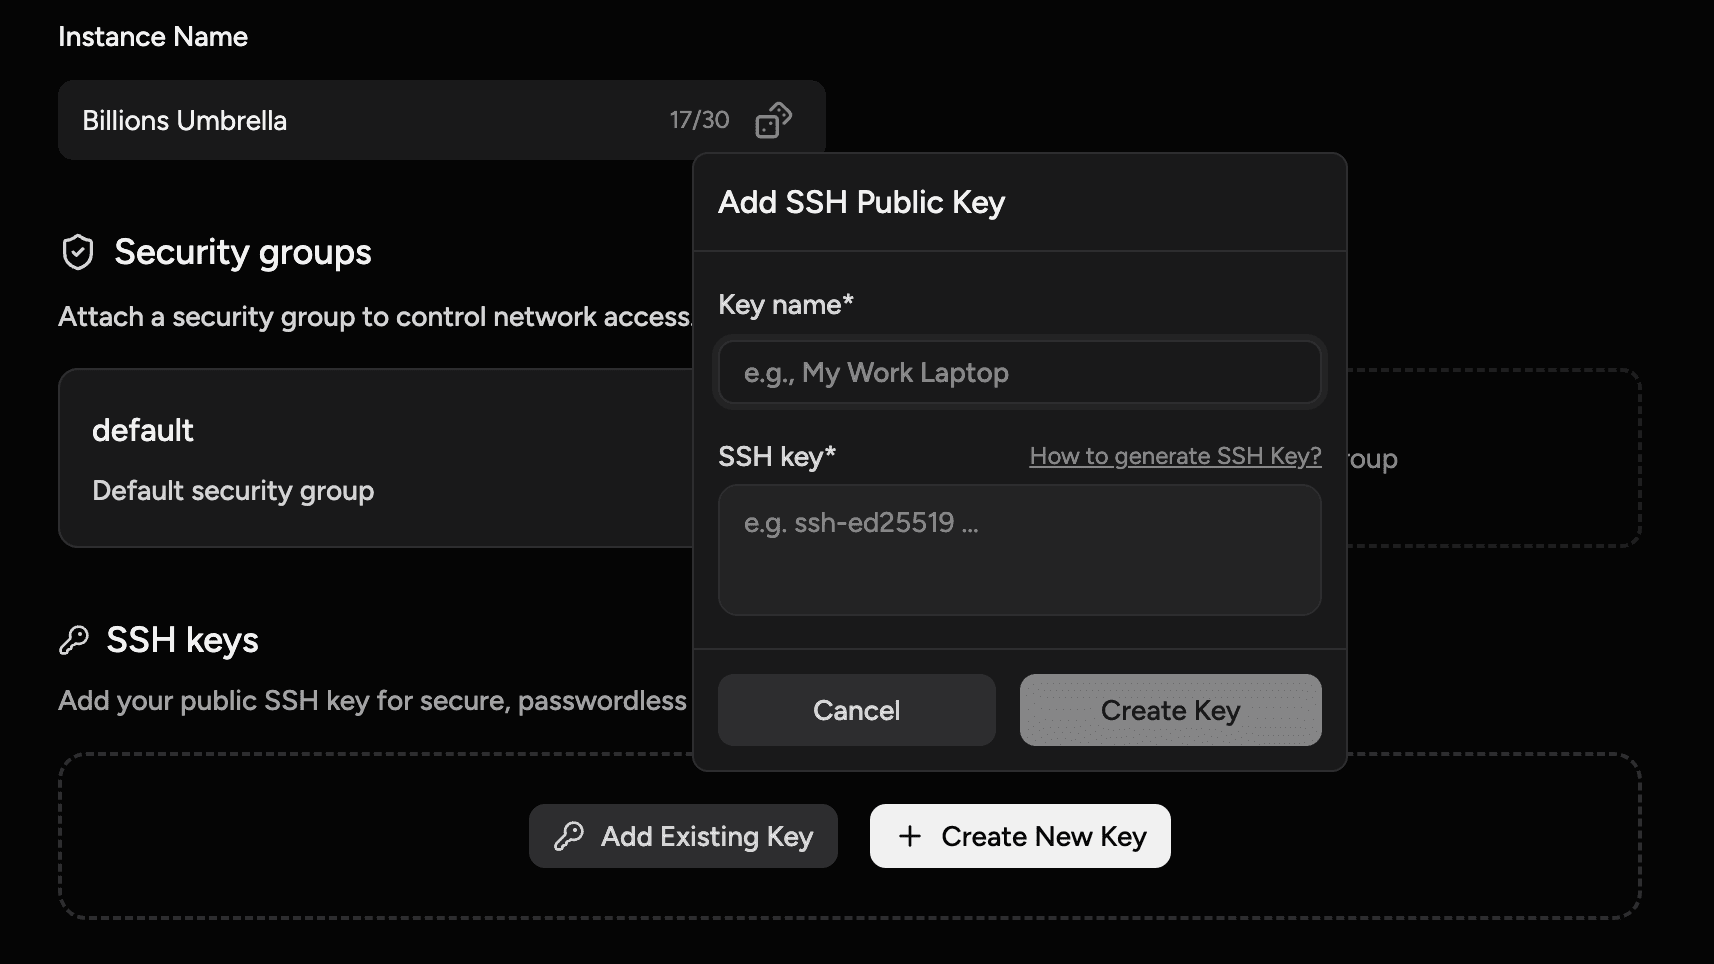
- Give your VM a memorable Instance Name.

- Add your SSH Public Key. This is mandatory for secure access.
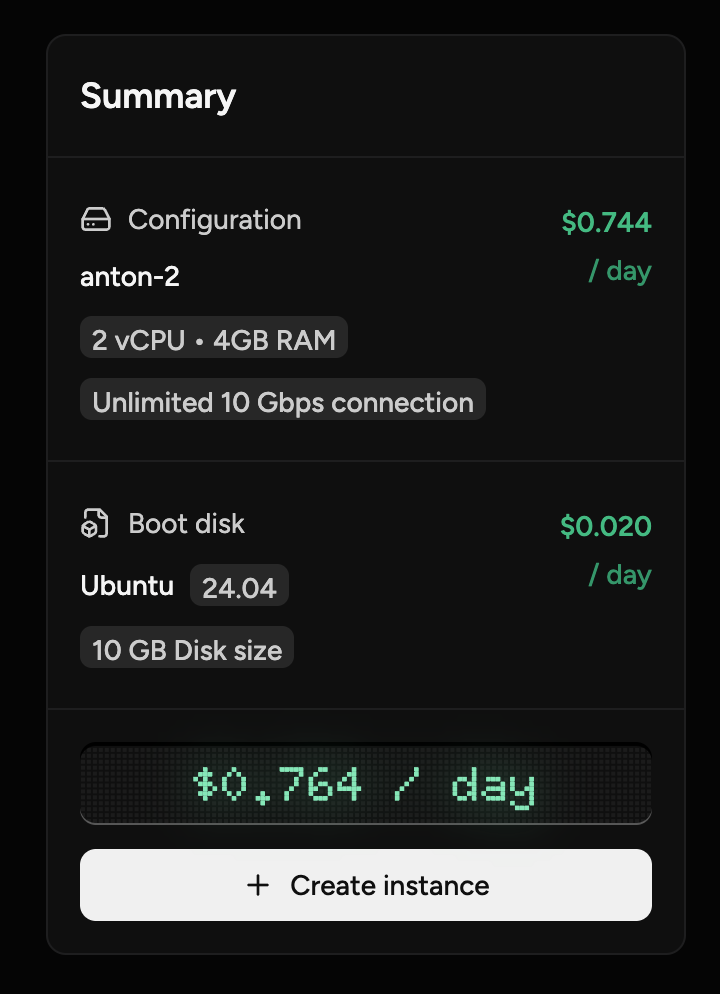
- Review the summary and click "Create instance".
Your VM will be provisioned and online within a couple of minutes. You can see its status and IP address in the instance list.
Connecting to Your VM
You can connect to your VM using an SSH client from your local terminal.
ssh <user>@<your_vm_ip_address> -i <path_to_private_key>The default user depends on the image you selected.
For Ubuntu, the user is ubuntu.
For Fedora, it's fedora.
Managing Your VM
From the Virtual Machines dashboard, you can perform several lifecycle actions on your instances:
- Start: Powers on a stopped VM.
- Stop: Powers off a running VM. Your data and IP address are preserved.
- Delete: Permanently removes the VM and all its data. This action is irreversible.
Security Groups
Every VM is protected by a Security Group, which acts as a virtual firewall. It controls the inbound and outbound traffic to your instance. By default, only SSH traffic (port 22) is allowed.
To allow other traffic, such as HTTP (port 80) for a web server, you must add a new rule to the security group. You can learn more in our Networking & Security guide.
Common Troubleshooting Tip
If you can't connect to a service running on your VM, the most common reason is a missing rule in your security group. Always check that the port you need is open for inbound traffic.