Networking & Security
Secure your infrastructure using security groups and SSH keys.
Properly configuring your network and security settings is essential for protecting your applications and data. This guide covers the two core security features of our platform: Security Groups and SSH Keys.
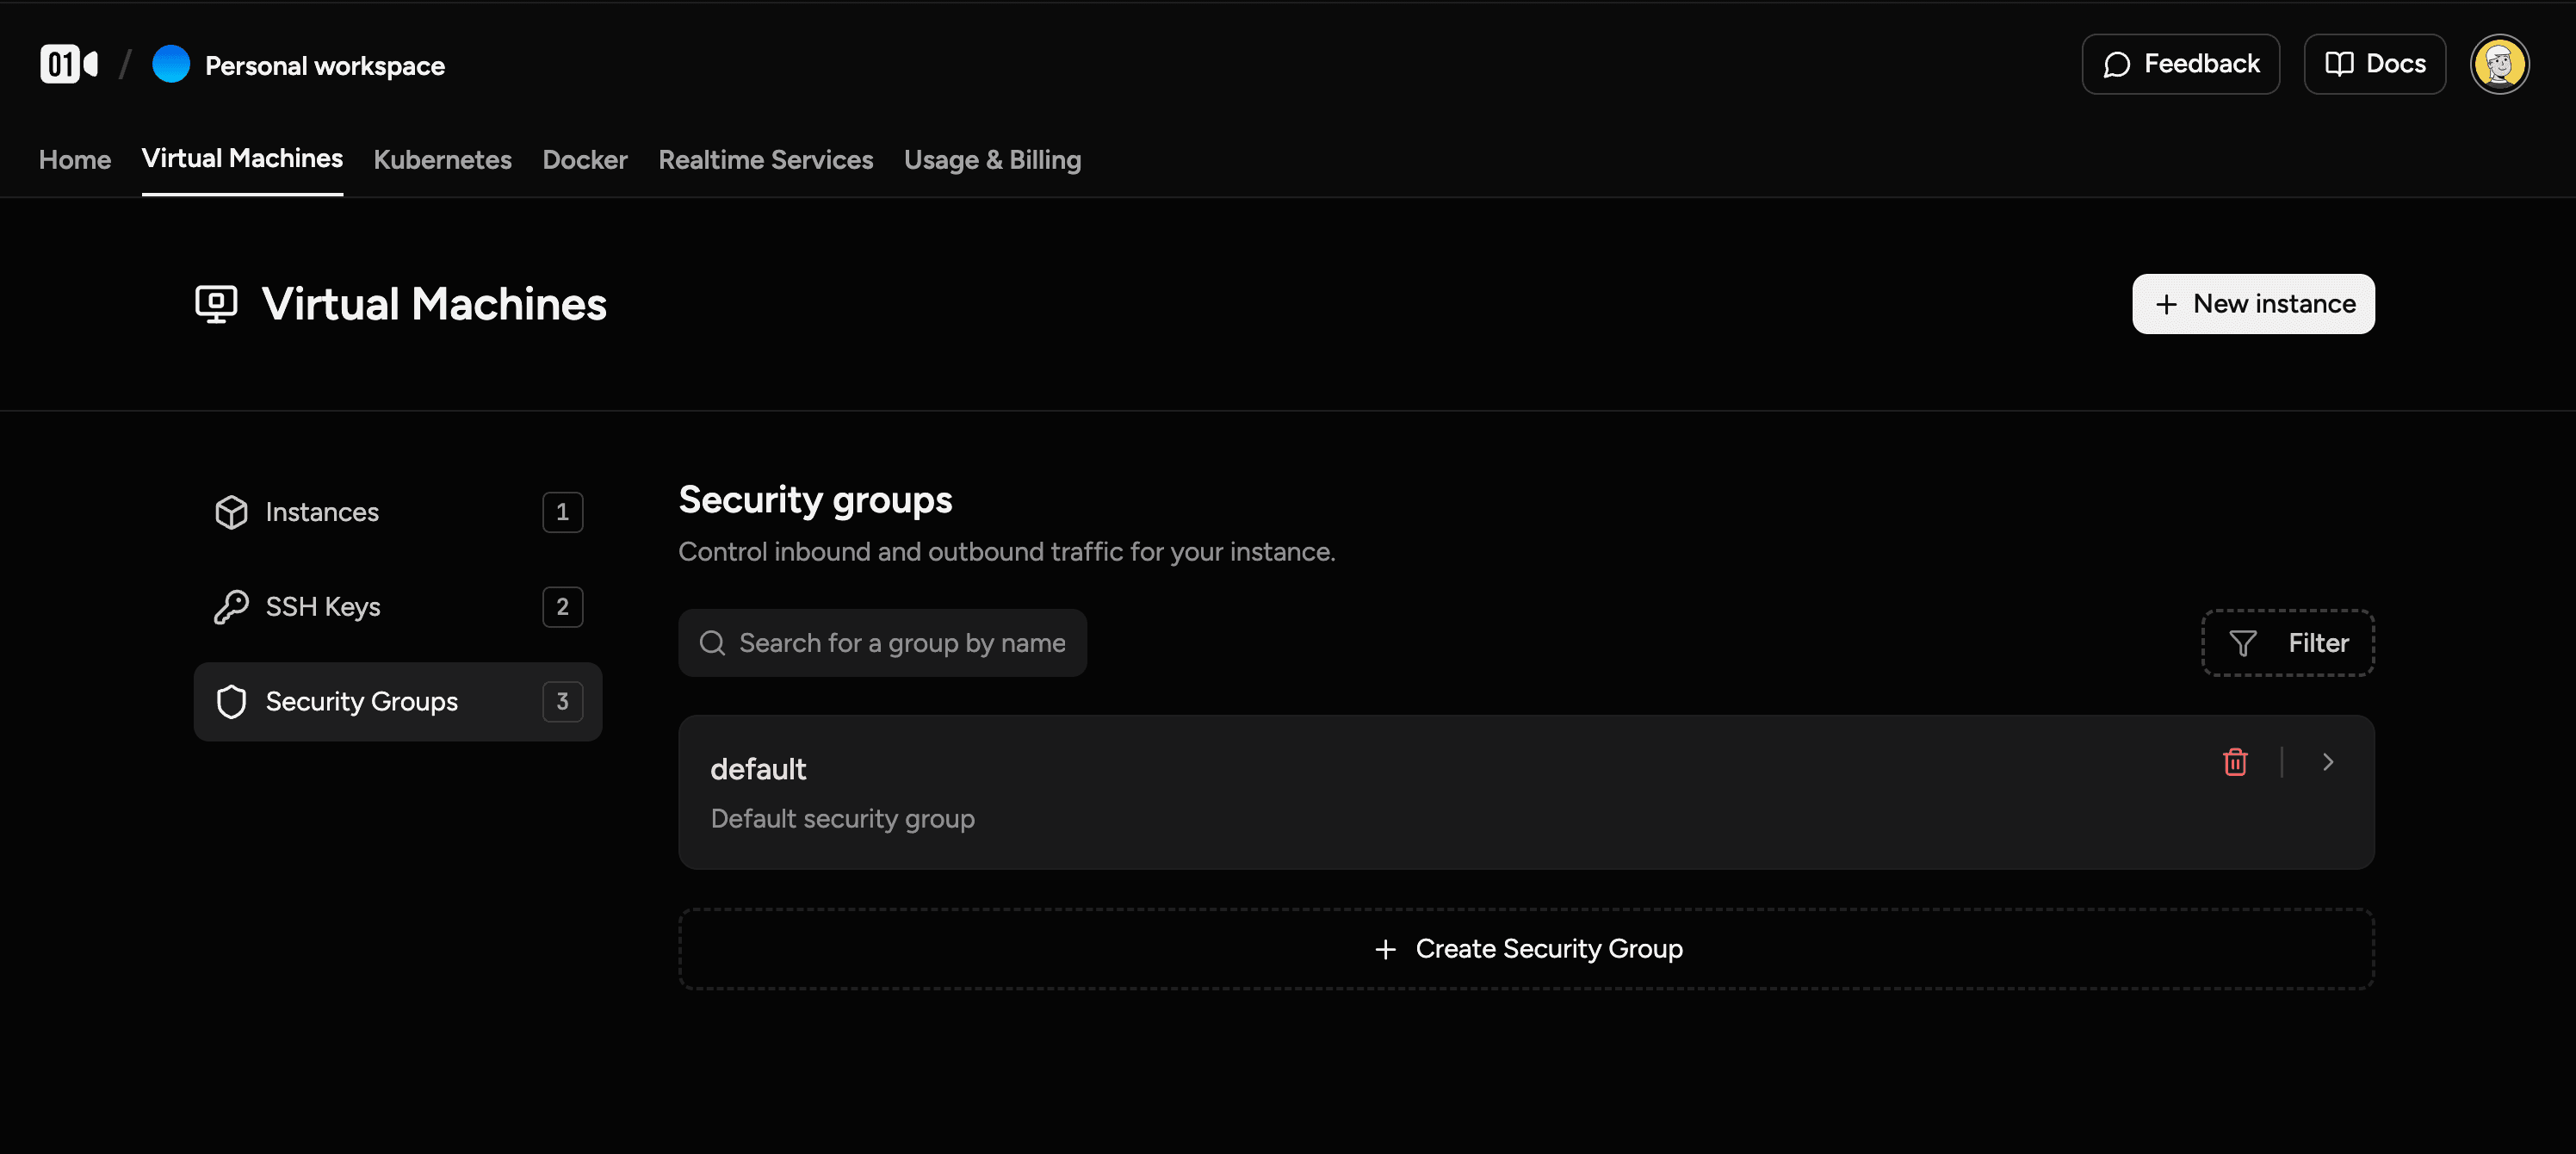
Security Groups (Firewall)
A Security Group acts as a virtual firewall for your Virtual Machines, controlling all inbound and outbound traffic. By default, all incoming traffic is blocked except for SSH access. You must explicitly add rules to allow other types of connections.
How Rules Work
- Inbound Rules: Control traffic coming into your VM from the internet or other servers.
- Outbound Rules: Control traffic going out from your VM. By default, all outbound traffic is allowed.
- Rules are stateful: If you allow an incoming request, the return traffic for that request is automatically allowed, regardless of outbound rules.
How to Add a Firewall Rule
Let's say you want to run a web server. You'll need to allow incoming HTTP traffic on port 80.
- Navigate to the Virtual Machines section and click on the Security Groups tab.
- Select the security group attached to your VM (e.g.,
default). - Under the Inbound Rules section, click "Add Rule".
- Set the Port to
80and the Source to0.0.0.0/0(which means "any IP address"). - Save the rule.
Your VM will now accept web traffic on port 80.
Security Best Practice
Only open the ports you absolutely need. For sensitive services like databases, restrict the source IP address to a specific server or IP range instead of allowing access from anywhere (0.0.0.0/0).
SSH Keys
SSH (Secure Shell) keys are a pair of cryptographic keys that provide a secure, passwordless way to log into your servers. A key pair consists of a private key, which you keep secret on your computer, and a public key, which you upload to the platform.
How to Generate an SSH Key Pair
If you don't already have an SSH key, you can generate one on your local machine using the ssh-keygen command.
- Open a terminal on your Mac, Linux, or Windows (using WSL or PowerShell).
- Run the following command. The
-t ed25519argument specifies a modern and secure key type.
ssh-keygen -t ed25519 -C "your_email@example.com"- Copy the output, which starts with
ssh-ed25519and ends with your email address. - Paste this public key into the SSH Keys section of the platform when creating a new VM.
Private Networking
Private networking allows you to create isolated networks within your project, enabling secure communication between your instances without exposing them to the public internet.
Key Features
- Custom Address Pools (CIDR): Define your own internal IP space using RFC1918 private ranges (e.g.,
10.0.0.0/16). - Scoped Subnets: Create multiple subnets within a single network for better organization (e.g., separate subnets for databases and application servers).
- Per-VM Interface Management: Dynamically attach or detach network interfaces.
- Isolation: Traffic within a private network is completely isolated from other tenants.
Setting Up a Private Network
Setting up a private network involves three main steps:
-
Create Your Network:
- Navigate to the Private Networks tab and click Create.
- Define your Network CIDR (e.g.,
10.0.0.0/16). - The system will suggest a primary subnet (e.g.,
10.0.1.0/24), which you can customize.
-
Attach to Your VM:
- Go to the Networking tab of your Virtual Machine.
- Select your new network and subnet to attach the interface.
- Note: For running VMs, you may need to manually configure the IP or run a DHCP client (e.g.,
dhclient) on the new interface if it doesn't auto-configure.
-
Verify Connectivity:
- Once attached, you can test connectivity by pinging other VMs on the same private network using their internal IPs.
Managing Public Access
- Outbound Only (NAT): To allow internet access without being reachable from the outside, remove the Floating IP from your instance.
- Purely Private: To completely isolate the VM from the internet, delete the Transit Network Interface. The VM will only be accessible via your private network.
Maintain Connectivity
Before removing a public interface or Floating IP, ensure you have configured alternative access to your VM via another interface (e.g., a private network) and that your routing table is updated. Removing your only access method may lock you out of the instance.